Introduction
Your ultimate career goal may be the perfect sculptured nail, but while you’re perfecting your skill set, nail tips are a great stopgap! When properly sized and applied, nail tips can deliver the perfect platform for a strengthening overlay of acrylic, gel, or silk/fiberglass in record time.
"Tips can be ideal for clients who have difficulty growing their natural nails," says Elsa Barbi, OPI ambassador. "They can also help prevent nail biting, protect nail splits, and (bonus!) provide a larger canvas for nail art, especially for almond or other untraditional nail shapes." Here, everything you need to know to successfully choose, fit, and apply nail tips.
Types of Nail Tips
Most nail tips are manufactured out of plastic, aka acrylonitrile butadiene styrene (ABS), a durable but flexible material that can be shaped into a smooth surface that resists yellowing. Look for pure or 'virgin' plastic as it contains no recycled material, which can sometimes cause quality issues when the plastic is re-melted and reused, says Vicki Ornellas, global trainer for ibd.
The thinner area of the tip that makes contact with the client’s nail is called the well. Choosing the type of well is usually a matter of preference:
1. Full-Well Tips
Full-well tips have the largest contact point and the best “grip,” according to Terry Burciaga, global educator for SuperNail. The large surface area is suitable for most clients but is particularly good for camouflaging bitten nails and other imperfections, says Barbi. However, because the well can cover up to half of the natural nail bed, full-well tips require the most blending and are best covered with colored product or opaque polish.
2. Half or Partial-Well Tips
These tips offer less coverage on the nail, making them quicker to apply and blend. The additional strength is realized when acrylic or other products are applied directly to the natural nail.
3. Well-Less Tips
Well-less tips are the fastest and most versatile as they can be applied anywhere on the nail plate and don’t require blending. They’re perfect for creating pink-and-white nails with crisp smile lines.
Fitting and Attachment
A good fit and a solid bond are critical to long-lasting and natural-looking enhancements using tips. “First, examine the client’s nails and choose a tip with a C-curve that most closely matches the natural C-curve of the client’s nail plate,” says Barbi.
Additionally, according to Ornellas, the width of the tip should fit from sidewall-to-sidewall for proper strength and structure. “If you’re in between sizes, go up in size and customize the tip down to fit.” Note: Don’t get caught in the trap of taking too long to customize a particular type of tip when another one may be more suitable out of the box.
Finally, if using full or half-well tips, ensure that the well fits snugly against the free edge of the nail. Other options to consider are tip length and color (i.e., natural, clear, and white).
After sizing and customizing all 10 tips, cleanse the nail plate. For application, it’s important to use a professional glue or resin designed for nails. These adhesives vary in thickness and setting time, and it’s essential that the glue provides the right support to attach the tip securely.
“If the nail plate seems uneven, fill in the well with a resin glue,” says Burciaga. “It’s thicker in viscosity, so air pockets can’t develop.” For those short on time, Ornellas recommends using fast-setting glue, as the bond is instant and strong. The downside? “There’s no wiggle room,” she cautions, noting that nail tip novices should choose slower-setting glue until they’re confident they can place tips correctly the first time.
Some technicians prefer to apply glue to the edge or well of the tip, while others apply it directly to the natural nail where the tip will make contact. Align the tip on the free edge of the nail at a 45- to 90-degree angle, then slowly rock it forward, pressing it onto the nail plate and firmly holding it in place until the glue dries. The glue should spread evenly to completely fill the space. Once the glue has set, use a tip cutter to trim the tips to the desired length and then shape with a file.
Blending
Before applying any product, full and partial-well tips should be blended to “erase” the line and create a smooth transition from the tip to the natural nail. Tip blenders are liquid products brushed over the plastic at the seam to soften it, thereby reducing the amount of filing needed (which means less friction and reduced potential damage to the client’s nail plate). Many technicians prefer to thin or pre-etch the seam prior to gluing.
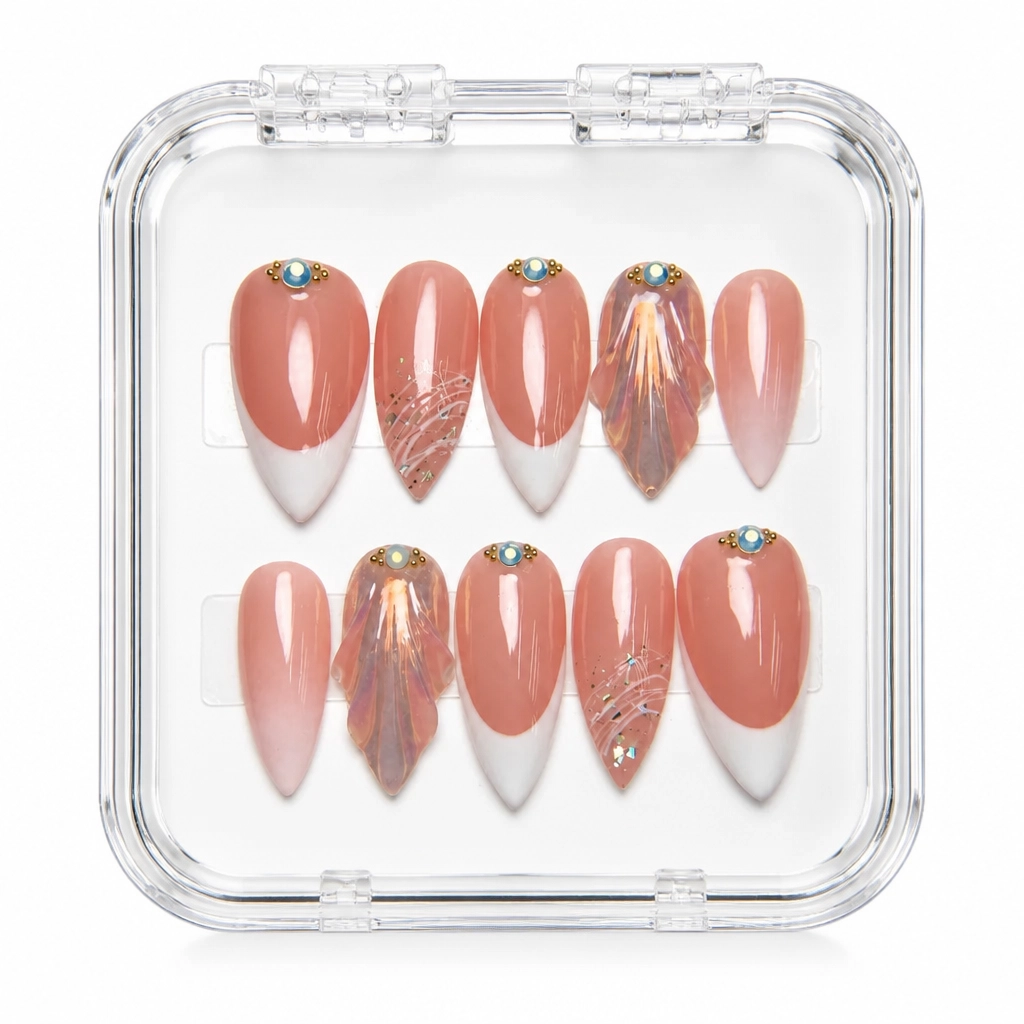
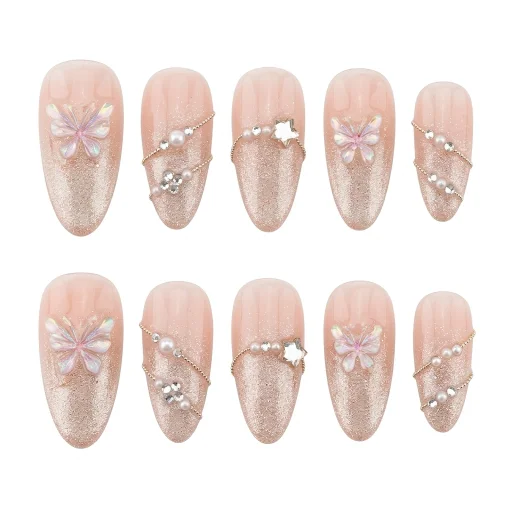
This eliminates extensive filing to blend and, therefore, minimizes the risk of filing into the nail plate, says Allie Baker, global brand ambassador for EzFlow. Note: Well-less tips don’t require blending; in fact, blending can ruin the crisp smile line of a French or white tip.
Oils are easily transferred back onto the nail during the trimming and blending process, so ensure to cleanse the nail again and apply primers and bonders after blending, advises Baker. Also, be careful to apply primer only to the exposed natural nail as it can crack or warp ABS plastic.
Care and Maintenance
Assuming that the tip has been properly fit, attached, and overlayed, enhancements created with tips should last two to three weeks. “The bond really depends on the client and the glue used,” says Burciaga. “The thicker the viscosity of glue/resin, the slower it will break down in water.”
For clients with natural nails that tend to curl away from the extension, encourage them to use cuticle oil every single day to keep the natural nail hydrated and pliable, so it maintains its shape. Barbi suggests educating your clients to get broken nails fixed right away to prevent further breakage.
By following these guidelines on sizing and applying nail tips, nail technicians can provide impressive results that enhance their clients’ nail aesthetics and overall satisfaction.
-Leslie Henry is a business development executive, licensed nail technician and the blogger behind workplaypolish.com.
This article was originally published by Nailpro in 2017.
Business Insight
We offer custom branded nail packaging to ensure your products look as good as they perform.