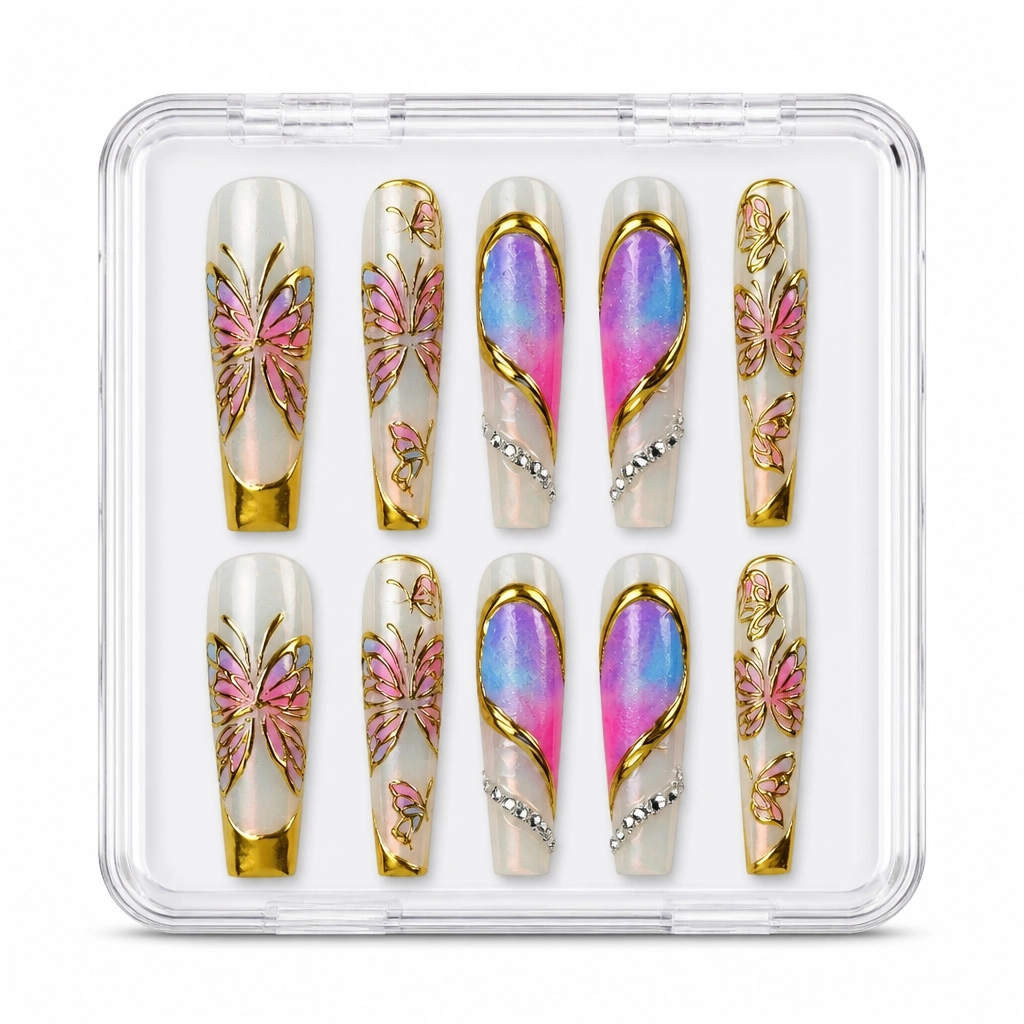
Introduction to Marble Mani
The marble mani technique has become a staple in the nail art community, delivering stunning results that blend colors seamlessly into a beautiful watercolor effect. This technique is incredibly versatile and allows for multiple creative expressions, making it a favorite among nail artists and enthusiasts alike. In this article, we will explore three distinct looks you can achieve with the marble mani technique, enabling you to create breathtaking designs that will leave your clients in awe.
Look One: The Classic Marble Mani
This timeless design showcases the fundamental aspects of the marble mani technique.
Step 1: Nail Preparation
Start by prepping the nails thoroughly. Apply two coats of off-white gel polish, curing your nails after each layer to ensure a solid base for the design.
Step 2: Create the Marble Effect
Remove the tacky layer on the nail. Then, apply dots of pink and purple watercolor polish or gel in a “Y” shape. If you're using watercolor gel, apply this product before placing dots of color.
Step 3: Blend the Colors
Using a flat gel brush lightly dipped in acetone or alcohol, spread the watercolor polish to create imperfect, artistic lines that embody the essence of marble. If you opted for watercolor gel, manipulate the design to achieve your desired look and cure if necessary.
Step 4: Add Finishing Touches
Complete the marble mani by painting a thin line along the cuticle with gold glitter gel polish. Seal the design with a gel top coat and cure under the UV lamp for a flawless finish.
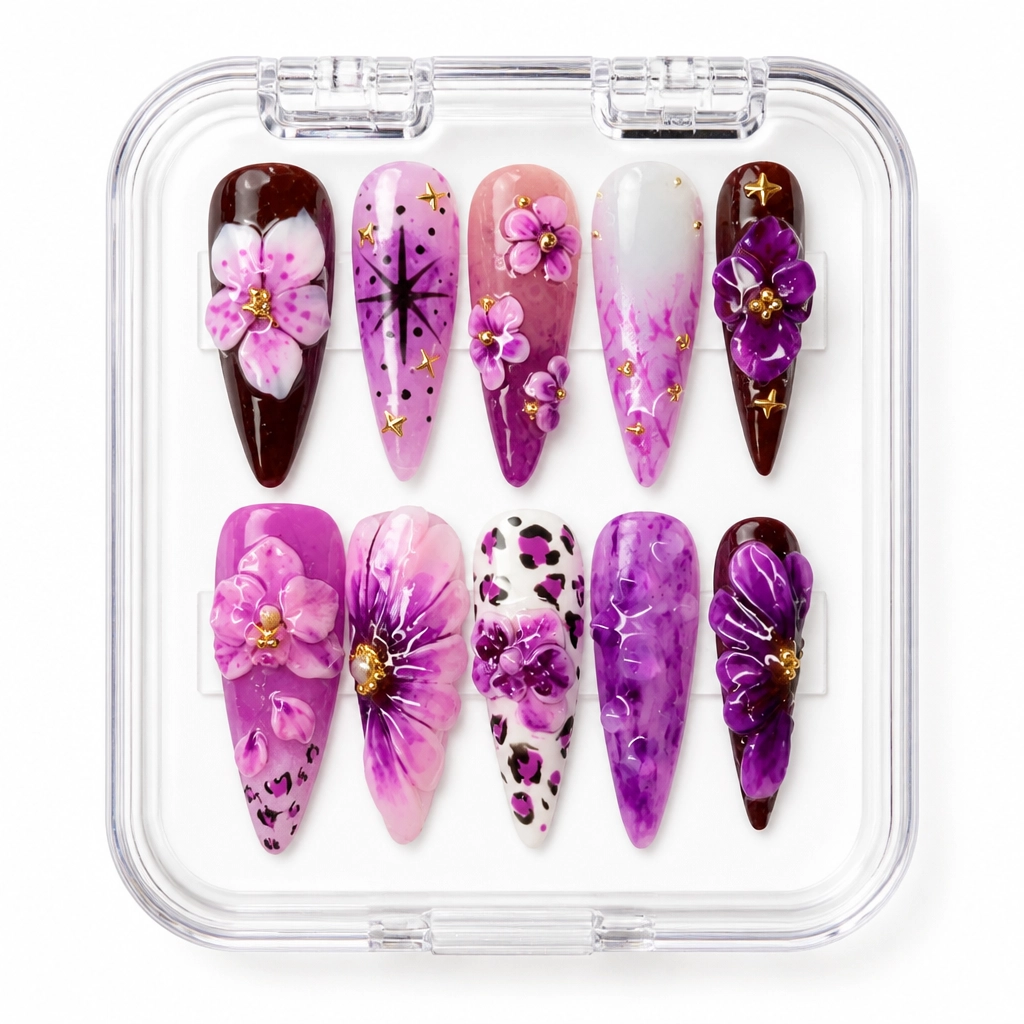
Look Two: Blooming Blossoms
This design adds a floral twist to the classic marble mani.
Step 1: Base Coat Application
Begin with two coats of nude gel polish, curing after each application to set the base color well.
Step 2: Form the Flower Petals
Remove the tacky layer and create flower petals using dark red watercolor polish or gel at the free edge. Incorporate a lighter shade of red within the petals to add depth and sophistication. For watercolor gel, ensure to apply the product before adding details. Cure as needed.
Step 3: Outline with Precision
Outlining the petals with black gel paint enhances definition; thus, apply dots in the center of each flower and cure the design.
Step 4: Add Leaves and Finalize
Repeat similar steps for creating green leaves, outlining them with black gel paint for added detail. Seal the completed design with a gel top coat and cure.
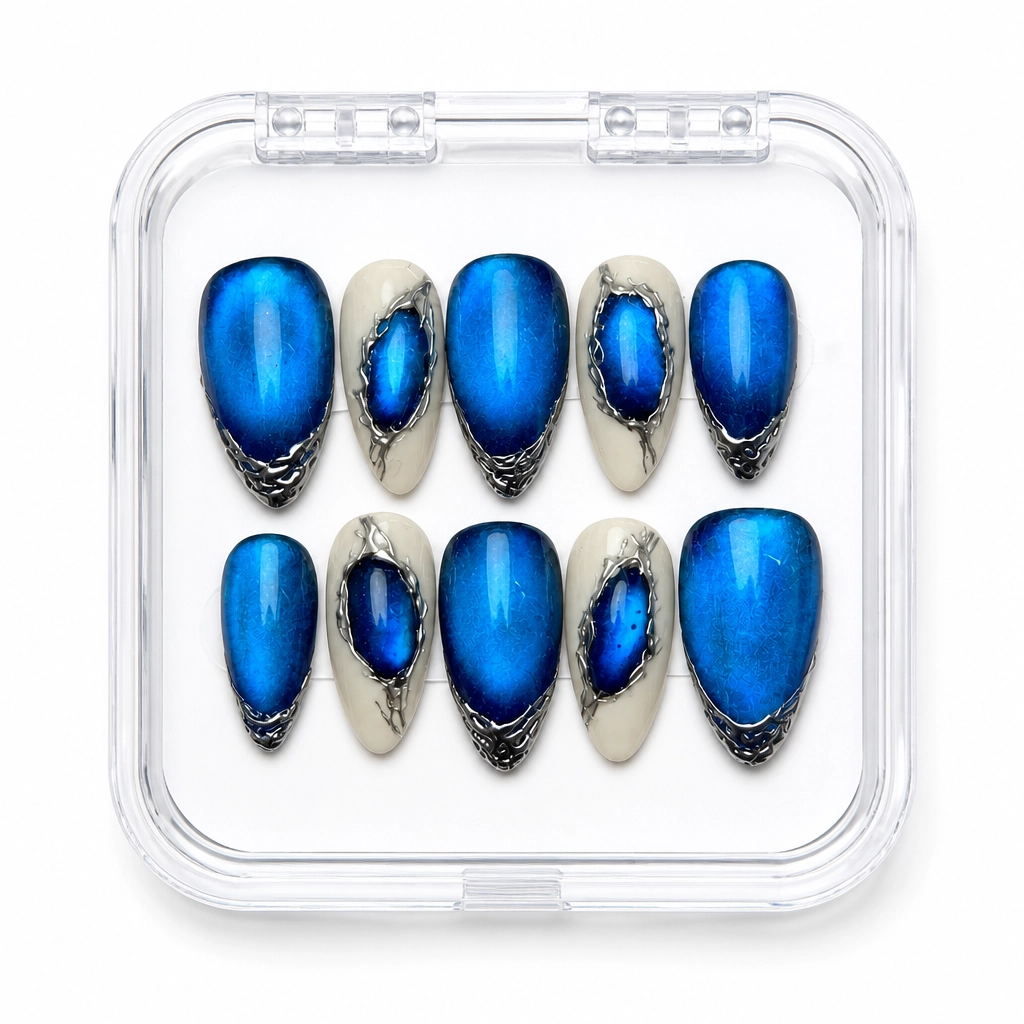
Look Three: True Turquoise
This vibrant turquoise design evokes a tropical vibe.
Step 1: Apply the Base Color
After prepping the nails, apply one coat of sheer turquoise gel polish and cure.
Step 2: Create the Turquoise Marble
Remove the tacky layer, then drop green and blue watercolor polish or gel onto the nail. For watercolor gel usage, apply before introducing the color dots and cure as needed.
Step 3: Define with Black Veins
Introduce black veins across the nail using gel paint. Before curing, utilize a dry brush method to blur the black lines for a softer look.
Step 4: Add Gold Glitter
Finish off by painting a delicate line at the cuticle area with gold glitter gel polish. Once complete, seal the design with a gel top coat and cure.
Conclusion
The marble mani technique is an exciting way to enhance your nail art repertoire. By utilizing various colors and application methods, you can create unique, stunning designs that not only impress clients but also push your creativity. Experiment with different color combinations and effects to find your signature style with marble manis. Remember to follow manufacturer guidelines for any watercolor-effect products for optimal results. Happy painting!
Business Insight
Browse our ready-to-ship wholesale nails for quick inventory restocks.